
Understanding Equipment
When to Buy Paragliding Gear
Every paraglider pilot has to have their own gear set. There are no gear rental services, nor would a pilot want to rent gear without intimately knowing the condition of the equipment.
It’s important for students to purchase their own equipment during training in order to learn how to handle the paraglider they’ll be flying after the course. School gliders have a ton of passive safety features built in that help keep students safe on their first flights. These safety features are designed to help keep the paraglider as stable and easy to control as possible. Just like training wheels on a bike, school gliders make the first attempts at learning to fly as straightforward as possible. At some point it’s important to take the training wheels off so a student can continue to progress. The passive safety features of a school glider eventually start to hold students back from learning how a normal paraglider operates and handles. This is the point where students need to purchase their own gliders and accompanying equipment. Students are encouraged to pick out their own paragliding harness as soon as possible. There are no drawbacks but only advantages to doing first flights on a harness that fits well.
In our experience, students are ready to start flying their own equipment after 10 flights on school gear. We require that students have their own equipment by their 10th flight for this reason.
Equipment Requirements for Training
To ensure that students are training on gear that’s safe for them to use, the following standards have been set. This is based on previous experiences of students showing up with aged gear that caused them problems or frustration. We’ve seen gliders that didn’t like to inflate and brake toggles that were ready to fall off, among other things.
New gear purchases through the school are guaranteed to meet all of the standards set forth.
The student needs to be in the certified weight range for the paraglider and reserve. The harness needs to fit reasonably well.
Paraglider should have either an EN A or low EN B rating.
Used paragliders need to have a recent inspection report if they have more than 100 hours of use (airtime & kiting time combined) or they’re more than four years old.
What Makes Up a Complete Kit?
- Paraglider
- Harness
- Reserve Parachute
- Concertina Bag
- Radio & Mic
- Variometer
- Helmet
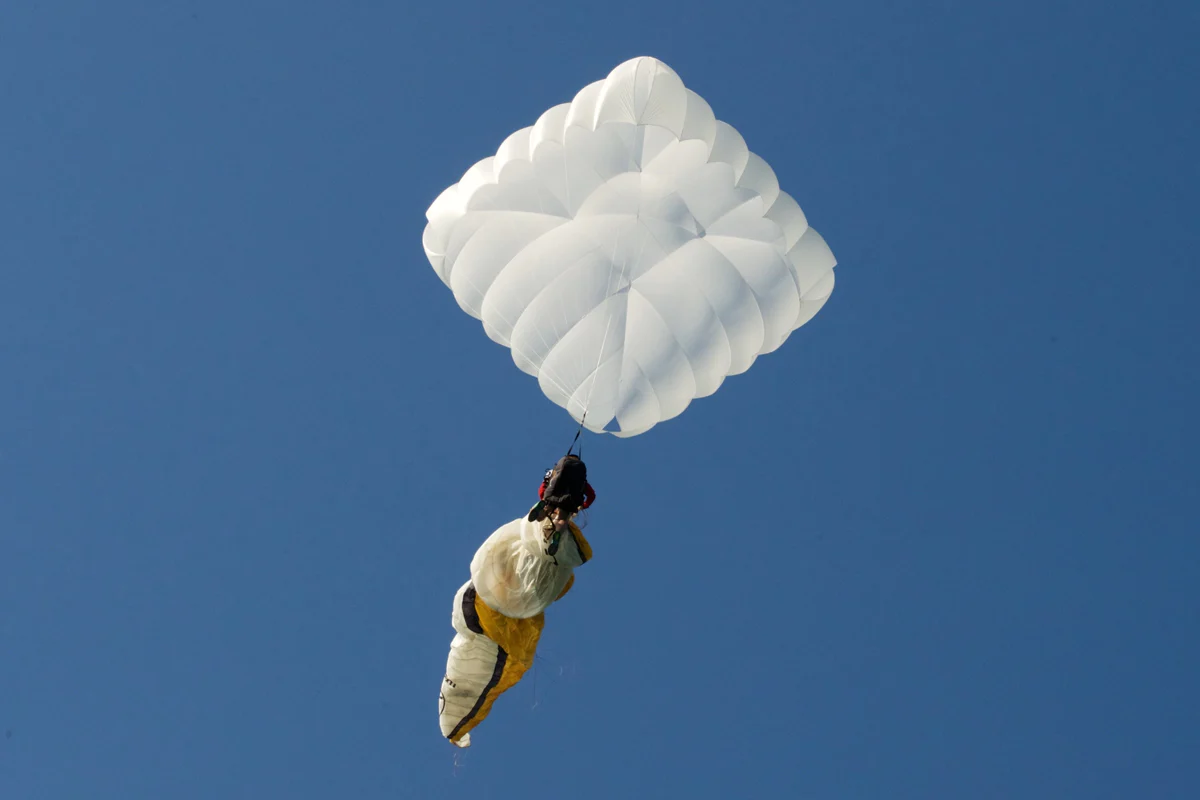
Paraglider

Paragliders are certified by an independent organization that tests the gliders in different ways. The resulting glider rating helps categorize gliders into beginner, intermediate and advanced categories. Learn more
Beginner pilots are best served starting out with an EN A or Low EN B glider. Note that not all EN A and EN B gliders offer the same overall passive safety. There’s more to consider than just the EN rating. The way the glider responds to piloting inputs is also important.
Every paraglider model is produced and certified in several different sizes which are not standardized across the industry. Choosing the right sized glider is critical for safety and performance. Typically it’s best to sit in the top half of the certified weight range for any given glider unless specified otherwise by the manufacturer.
The weight ranges for a paraglider are listed in kg. A pilot should take into account their body weight plus the weight of all of the gear they will fly with including the paraglider itself.
Modern fabrics used for paragliders are lighter than ever before. Still, pilots can choose between standard weight gliders and lightweight gliders. The weight difference is usually about 1 kg (2.2 lbs). Lightweight gliders pack up tighter, are easier to hike with and they inflate more easily in light wind conditions. Standard gliders retain a bit more durability in the canopy fabric and dampen turbulence in flight a bit more. We love lightweight gliders in Colorado since the majority of our flying sites require a hike up!
Paragliders are expected to withstand about 300 hours of UV exposure before the fabric degrades beyond what’s acceptable for safe flight. In practice, a paraglider can last much longer than this or much shorter depending on how it’s treated and the climate it’s flown in.
Heat and humidity wear down paraglider fabric more rapidly than a cool and dry environment. Abrasion against the lines and canopy have the effect of wearing down the strength and integrity of the material.
A tear strength test and porosity test can be performed on a glider to gauge its airworthiness.
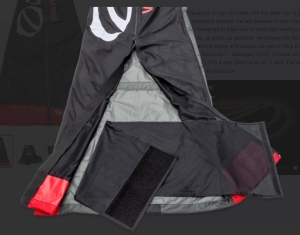
Harness

Harness manufacturers include a sizing chart based on height and weight for pilots to reference. It’s always best to sit in a harness in a simulator before purchasing it to be sure it’s a comfortable fit. Each harness suits some body types better than others.
The idea is that a harness should be comfortable to sit in for hours at a time. Getting a harness that’s too small will likely feel uncomfortable and unsupportive. A harness that’s too big will make a pilot feel less stable in the harness in turbulence and it will be harder for the pilot to weight shift into turns.
Beginner pilots are recommended to pick an open seat design as their first harness. These harnesses offer more stability in turbulence and quite often better protection than pod harnesses.
There are two styles of open seat harness. The standard design and the reversible design. Reversible harnesses have two configurations: Paragliding harness and backpack. They flip inside out between flight mode and hike mode. Reversible harnesses are lighter and more compact as a result.
The best harnesses for paragliding include a seat board. The seat board is a square piece of plastic under the seat that improves a pilot’s ability to weight shift, especially when thermalling.
Mini wings and speed wings are normally paired with a split leg harness. These harnesses don’t have seat boards, which makes them easier to get in and out of. These harnesses don’t need the extra weight shift authority that a seat board offers because smaller gliders are already very responsive to weight shift inputs from the pilot.
Some form of protection is critical regardless of the harness or style of flying chosen by the pilot. Because pilots fly in a seated position, impacts with the ground can affect the spine. Having a good amount of under seat protection can be the difference between getting injured or not during a hard landing or other hard impact.
Most harnesses include protection built into the harness or at least an attachable protector. The two common forms of protection are airbags and foam. Airbags offer a lower packing volume than foam.
Reserve Parachute
Reserve parachutes are certified to have a specified descent rate at a given loading. Loading refers to the amount of weight hanging from the parachute, in our case, the weight of the pilot and all of their gear.
Every certified reserve will list it’s measured descent rate at a given loading. For example, a reserve might have a 5.2 m/s descent rate at a 120 kg loading. This descent rate is similar to jumping off the top of a pick up truck. At higher elevations, the descent rate will increase as the air is thinner. For flying in Colorado it’s recommended to fly with a reserve that’s rated for a load 20% heavier than the pilot’s all-up weight. All-up weight refers to a pilot’s weight with all of their gear.
Reserve parachutes come in three forms: Round, square and rogallo. Round reserves are an old school design that used to be the only option available for pilots. Square reserves are more modern and the most common choice for pilots. Squares offer a slower descent rate, less oscillation, and a faster opening time than rounds, making them the safer choice. Rogallo reserves often offer the lowest descent rates as well as a steerability function for avoiding hazardous objects like power lines. This sounds good in theory but in practice few pilots that use their rogallo reserves actually get to steer their reserves before landing. Typically only practiced acro pilots benefit from the steerability function when training. A properly sized square reserve is the best option for most pilots.
Most manufacturers specify a 10 year lifespan for reserves before they should be retired. Reserve parachutes can be used more than once and typically just need to be repacked after use.
All round and square reserves are compatible with any paragliding harness. It’s easy to move a reserve from one harness to another, though this should always be done by someone with experience.
Concertina Bag
Concertina bags are used to help fold paragliders to small volume so they can fit in a reversible harness or backpack more easily. Compression concertina bags allow paragliders to be folded to their smallest possible volume using a zipper system.
Radio & Microphone
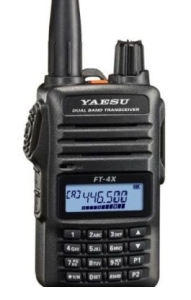
Radios are the primary form of communication between pilots on the ground and in flight. Every pilot should fly with a radio in order to remain in contact with other pilots flying the same site. Most paragliding sites have a designated frequency for pilots to tune their radios to.
The quality of the radio and antenna will determine a pilot’s ability to remain in touch with other pilots over long distances. Transmission quality becomes increasingly important for pilots flying cross country.
Variometer

Variometers are very useful for locating thermals, monitoring the wind and keeping tabs on pilot positioning in the sky.
Initially, most beginner pilots just use their vario to help them find and use thermals. A good vario will be sensitive to changes in lift, and start beeping whenever a pilot is gaining even the smallest amount of height above the ground. Pilots use the beeps to recognize when they are in rising air and when they aren’t.
Varios can also tell a pilot how high they are above the ground or sea level, how strong the wind is, what direction the wind is coming from, as well as other revelant information that can help aid a pilot’s decision making.
Pilots can benefit from having a vario even during their P2 course. Once pilots are in a position to fly in lightly thermic conditions, the vario will become a major asset.
Pilots new to thermalling have a major advantage in hooking thermals and having longer flights if they use a vario. In Boulder, thermalling is the primary way pilots are able to extend their flights beyond just a few minutes.
A good first vario is one that is sensitive to lift and not too distracting. New pilots don’t need an elaborate display or overpriced device.
Helmet
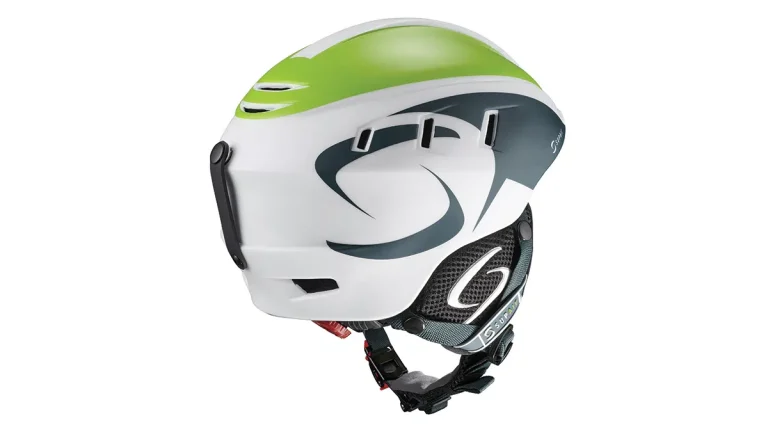
A protective helmet can’t be overlooked in paragliding. Pilots should choose a helmet that’s certified appropriately. Every pilot will have to decide what’s good enough and sort through the many options.
EN 966 is the official helmet certification rating for flight helmets. Some paragliding manufacturers like Supair and Ozone make helmets with this certification. There are several other helmet certification ratings out there that are just as appropriate if not more so. Other recommended helmet certifications include but aren’t limited to: ASTM F1952, NTA 8776 and EN 1078.
Gear Progression
The ideal first paragliding kit is one that allows a new pilot to pursue their goals without them having to change equipment in the near future. Regardless of what type of flying a new pilot wants to do, there’s always a ton of room for a pilot to grow with that first kit. A common misconception is that pilots need to keep advancing through gear to accomplish their goals. This is an especially common belief for pilots pursuing cross country or speed flying ambitions. To help offer a sense of what a normal progression through gear looks like, let’s break it down by the common pursuits.
A pilot’s first paraglider is capable of thermalling just as well as any high performance paraglider out there. There is almost no difference in thermalling capabilities between different classes of gliders. For pilots that are excited about hunting for thermals, getting high and enjoying great views of the surrounding landscape, their first paraglider is all they’ll ever need to accomplish this. As long as the glider remains in an airworthy condition.
Cross country paragliding is also attainable on a pilot’s first paraglider. Locally, we’ve seen pilots fly their first gliders from Boulder to Fort Collins on multiple occasions. Flights north to Lyons have happened dozens of times. In fact, pilots that are interested in cross country flying are expected to do their first XC flights on their first gliders. Pilots often associate long distance flights with high performance paragliders, thinking that they need a higher performing paraglider to accomplish bigger flights. The hard truth is that in paragliding, pilot decision-making and weather conditions are the primary determining factors in how far a pilot will fly on a given day. The performance difference between paragliders will account for a 10-20% difference in distance flown in the more extreme cases, but most often it’s more like 5%. Pilots pursuing XC ambitions can begin to consider moving up to a higher performing glider class once they’ve reached 60+ hours of airtime in thermic conditions over the span of two years or less. For pilots flying less than 30 hours per year, there’s no need to change glider class at any point. Pilots that are outmatched by their glider’s performance feel more uncomfortable in turbulence, they make worse piloting decisions than they would on a mellower glider, and often end up having an incident or accident as a result.
If a pilot’s ambitions are primarily to hike up different mountain sites and fly off, their first glider is all they’ll need to accomplish this. Their first kit can be optimized towards slightly less performance in exchange for a lighter and more compact kit for hiking. If a pilot wants to have a kit that works well for both thermalling and hike and fly in the mountains, they can choose a kit that retains full performance and remains pretty easy to hike with.
For smaller gliders, a common cause of accidents and injuries comes from pilots choosing to step down sizes too quickly. A pilot’s first small glider can feel easy to fly and as a result, they’ll feel like they’re ready for a smaller glider with more speed before they’ve fully tapped into their current glider’s capabilities. Bad decisions have bigger consequences as gliders become smaller since there’s more speed involved in any given impact with the ground. The margin for error becomes increasingly thinner.
A pilot pursuing mini wing flying or speed wing flying needs to start off with a glider that they can grow on but also one that remains forgiving to inevitable piloting errors and bad decision making. The truth is that the speedflying world is plagued with injuries. What’s becoming increasingly clear is that overly-stoked new pilots need to reach a certain level of maturity and tranquility before being capable of making bulletproof decisions. New pilots should aim to gather hundreds of flights at different sites and learn their first glider’s full potential before downsizing their glider or attempting barrel rolls and aggressive swoops.
Pilots that don’t have any particular ambitions other than to fly their local sites and be a part of the community will be able to fly their first paragliding kit as long as it’s in airworthy condition. There won’t be any need to upgrade gliders for a long time if a kit in good condition is purchased up front.
Gear Care and Maintenance
Paraglider
Heat and UV break down the integrity of the cloth of the paraglider over time. Leaving the glider out in the sun or in a hot car will expedite the glider’s aging process. Paraglider’s should be packed in the shade whenever possible.
Just like any other fabric, paraglider cloth will weaken from continuous abrasion on hard surfaces. Try to groundhandle on grass when possible and keep the glider from dragging across rough surfaces unnecessarily.
The looser a glider can be stored between flights, the better. Paraglider cloth is weakened by repetitive creasing.
An untrained eye can still identify obvious damage to a glider. It’s worth giving a glider a look over every now and then to identify any small holes in the fabric or damage to the lines. A small tear can be patched pretty easily with standard paraglider ripstop tape. Damaged lines can be replaced easily as well.
Most line damage occurs when a line is wrapped around a rock on a launch and a pilot attempts to inflate their glider. This can be prevented by clearing the trailing edge before inflating.
Manufacturers have different recommendations for when a glider should be inspected. The typical recommendation is after 100 hours or two years of use.
Lines on a paraglider slowly shrink with use and age. Eventually a glider begins to fly slower than it’s original state. The geometry of the glider’s lines can be readjusted back to factory specification with a laser trim.
Harness
For the vast majority of harnesses, the zipper is the first part to fail. Zippers can last a decade or less than a year depending on how they are taken care of. Zippers are expensive to replace so be gentle.
When zipping the harness shut, never apply force on the zip. If the zip doesn’t want to continue along the tracks, don’t force it. Instead bring the zipper tracks closer together to make it easier for the zip to move along.
If the zipper gets a lot of dust and dirt in it, it’s good practice to clean it out and even wax it.
Many harnesses have a tendency for the back and leg straps to slowly open up with use. It can be really nice to get the straps readjusted every now and then in the simulator.
Reserve
If moisture gets into the reserve and remains there, mildew can form. This more likely in humid environments but still worth be aware of. If a reserve gets wet, it should be left open to dry out overnight before being repacked.
Manufacturer’s recommend having a reserve repacked every 6-12 months. Repacking a reserve has the benefit of loosening up the folds in the fabric in a way that allows it to open quickly if deployed.
Reserves should be repacked and installed into a harness by a someone with experience in doing so. We offer reserve repacks and occasionally run reserve repack clinics for large groups.